I'm demonstrating this on yet another 6-2012-1. This is my fourth of these t's.
I start by choosing the zigzag stitch that backstitches in place.

I have the sleeve with the right side inside the sleeve.

I start sewing over an inch in where my thumb is in the picture. After a little practice at this you can actually line the seam in the FOE with the seam in the sleeve, but really I was focusing on getting the documentation of the steps and not the perfection of lining up the seam lines.


I also stretch the elastic a little as I go while leaving the knit completely unstretched. For leg openings of diaper/panty covers, I'm stretching the elastic a lot.

Here you can see how far the elastic is hanging off the sleeve from where I started.

Sew around the sleeve and when you get an inch or so from the edge, cut off a little more than the amount of elastic that you need to get to finish. Backstitch and cut threads.

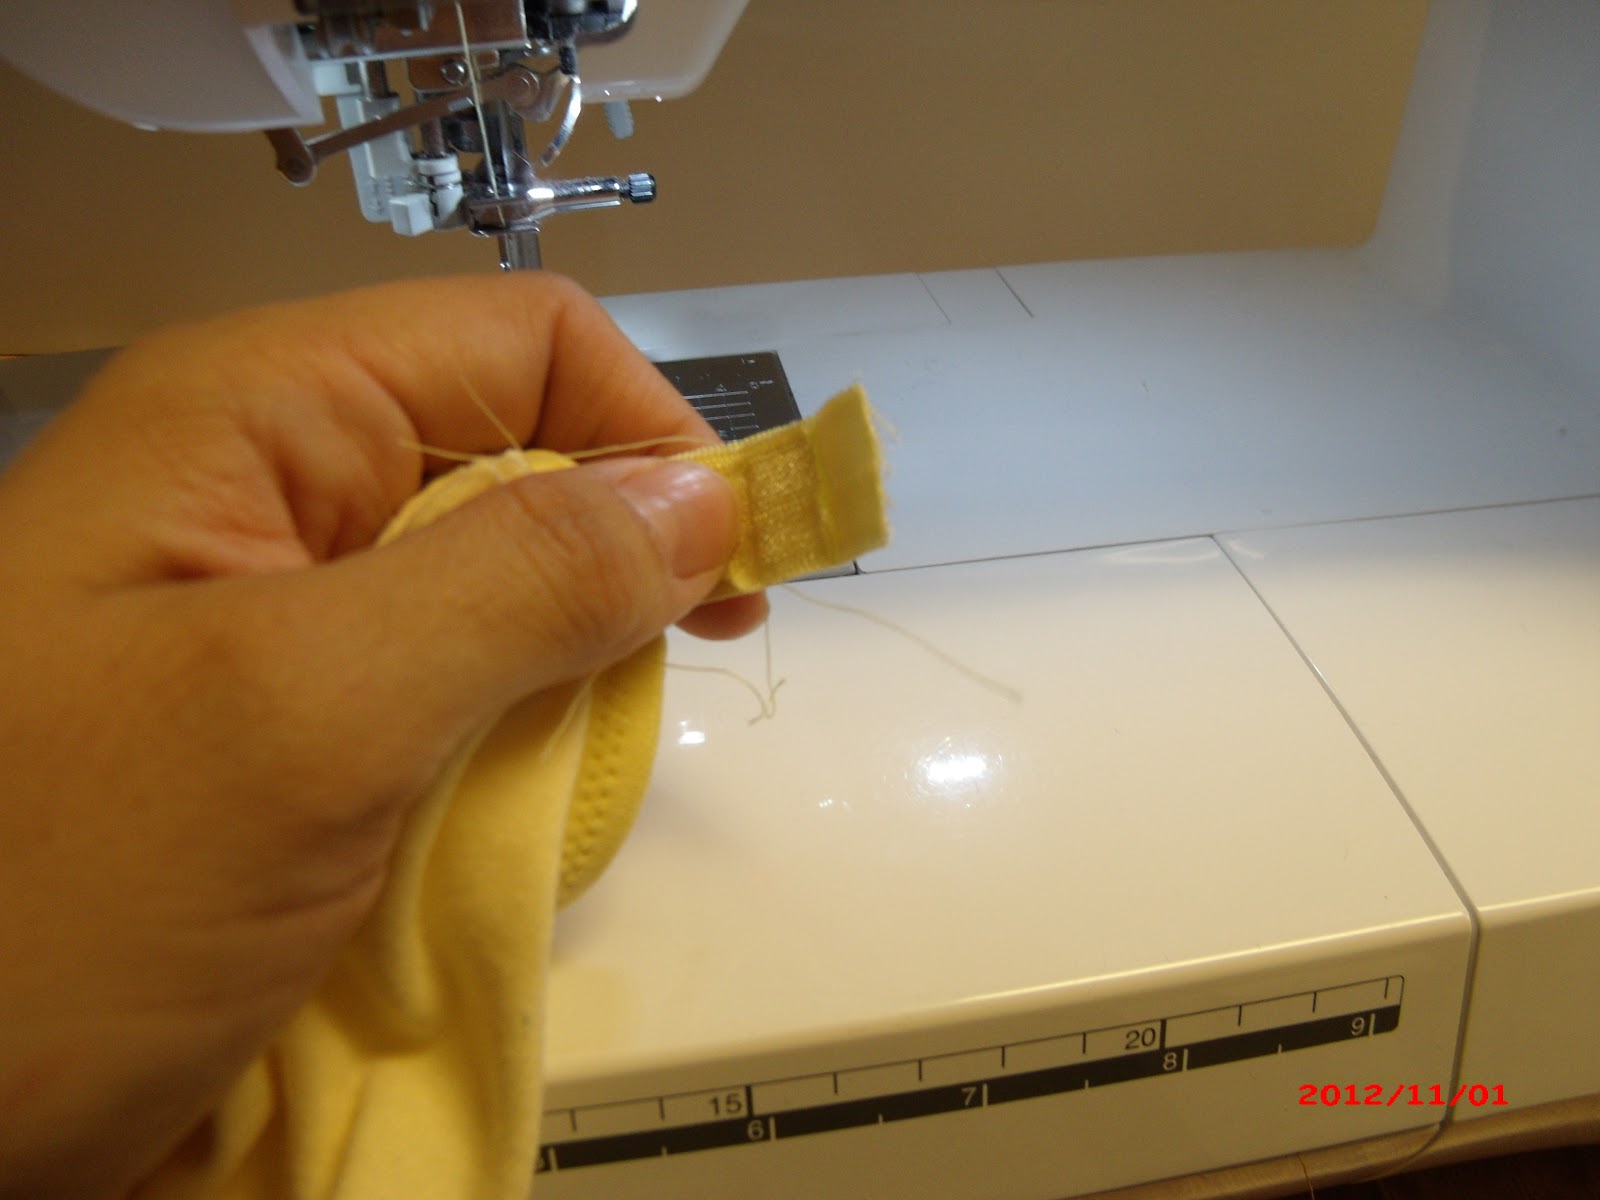
Then I push the unsewn elastic edges around to see where the seam needs to be.

When you decide where to sew, flip the elastic around (both sides the same way) so that the extra elastic will be between the elastic and the sleeve.

Select a straight stitch.

And sew the seam on the elastic ends.

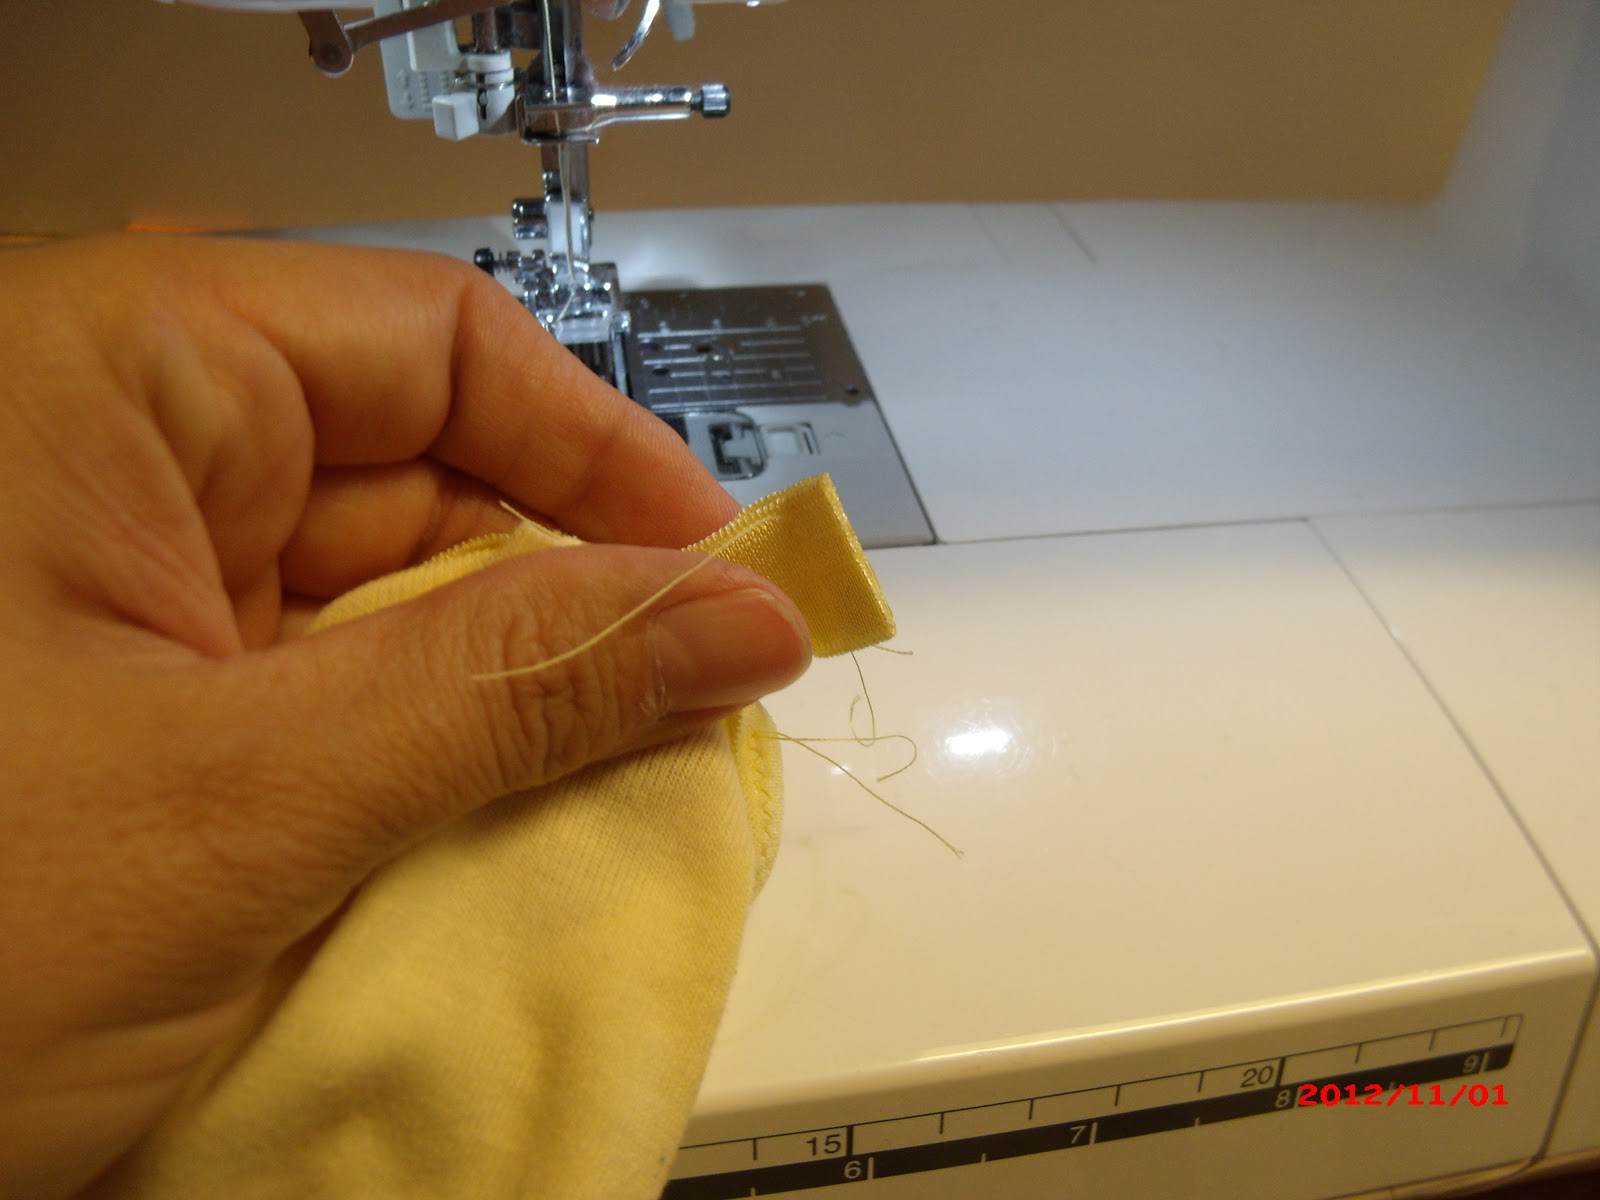
I always preview the elastic on the sleeve before proceeding because I am directionally challenged and I want to make sure I didn't twist the elastic and that the seam allowances are where I want them. This is also a good test to make sure you have enough and not too much elastic to finish the seam.

Then I trim any extra FOE. You can see here that I decided that the first seam would have too much elastic so I simply sewed another seam 1/4 inch closer in.
Here it is trimmed.
I select the zigzag again.

I backstitch in place and then finish sewing on the elastic and going over where I originally started a little bit before backstitching again and cutting the threads.

Here is the finished Sleeve opening. This picture makes the sleeve look bigger than it is because I have small palms and long fingers, but you can't really see my fingers here. You can see the ruler below, which shows that the sleeve opening is just a little over an inch across. This tight an opening would be really hard for me to do the traditional way and yet I find this way easy although there are a lot of steps.

This is what the finished sleeve looks like from the side everyone will see.

What the sleeve looks like on the side facing the body. You can click on the picture to enlarge it.

And the finished shirt on the nerdlet. It's amazing to me that the 6 month shirt that I lengthened until it was long enough for the bear cub fits my almost five-year-old so well.

There are a lot of ways to do apply FOE, but this is definitely the easiest way for me. Hope it helps if you are struggling with putting it onto a round edge.
For those that are interested, I buy my FOE mostly from Sew Sassy Fabrics.
No comments:
Post a Comment